



Part 1: Walking, Medical History, Inspection, Palpation and Hands-on Tests: What Do We Look for in the Consultation Room?
Medical review
When you visit an orthopedic doctor because your knee hurts, have you ever wondered, “Which parts of my knee is the doctor looking at?” or “What can they tell just by feeling it briefly?”
A diagnosis of knee pain is not based on X-rays or MRI alone.
At Goda Orthopedics, we take your medical history, observe how you walk, ask where it hurts, inspect and feel the knee, and assess its range of motion, tenderness and instability, including hands-on examination tests. We then compare these findings with the images to consider the cause.
What matters is not only whether the images show an abnormality, but whether that abnormality is actually related to your symptoms.
1. First, we review the history taken by the nurse
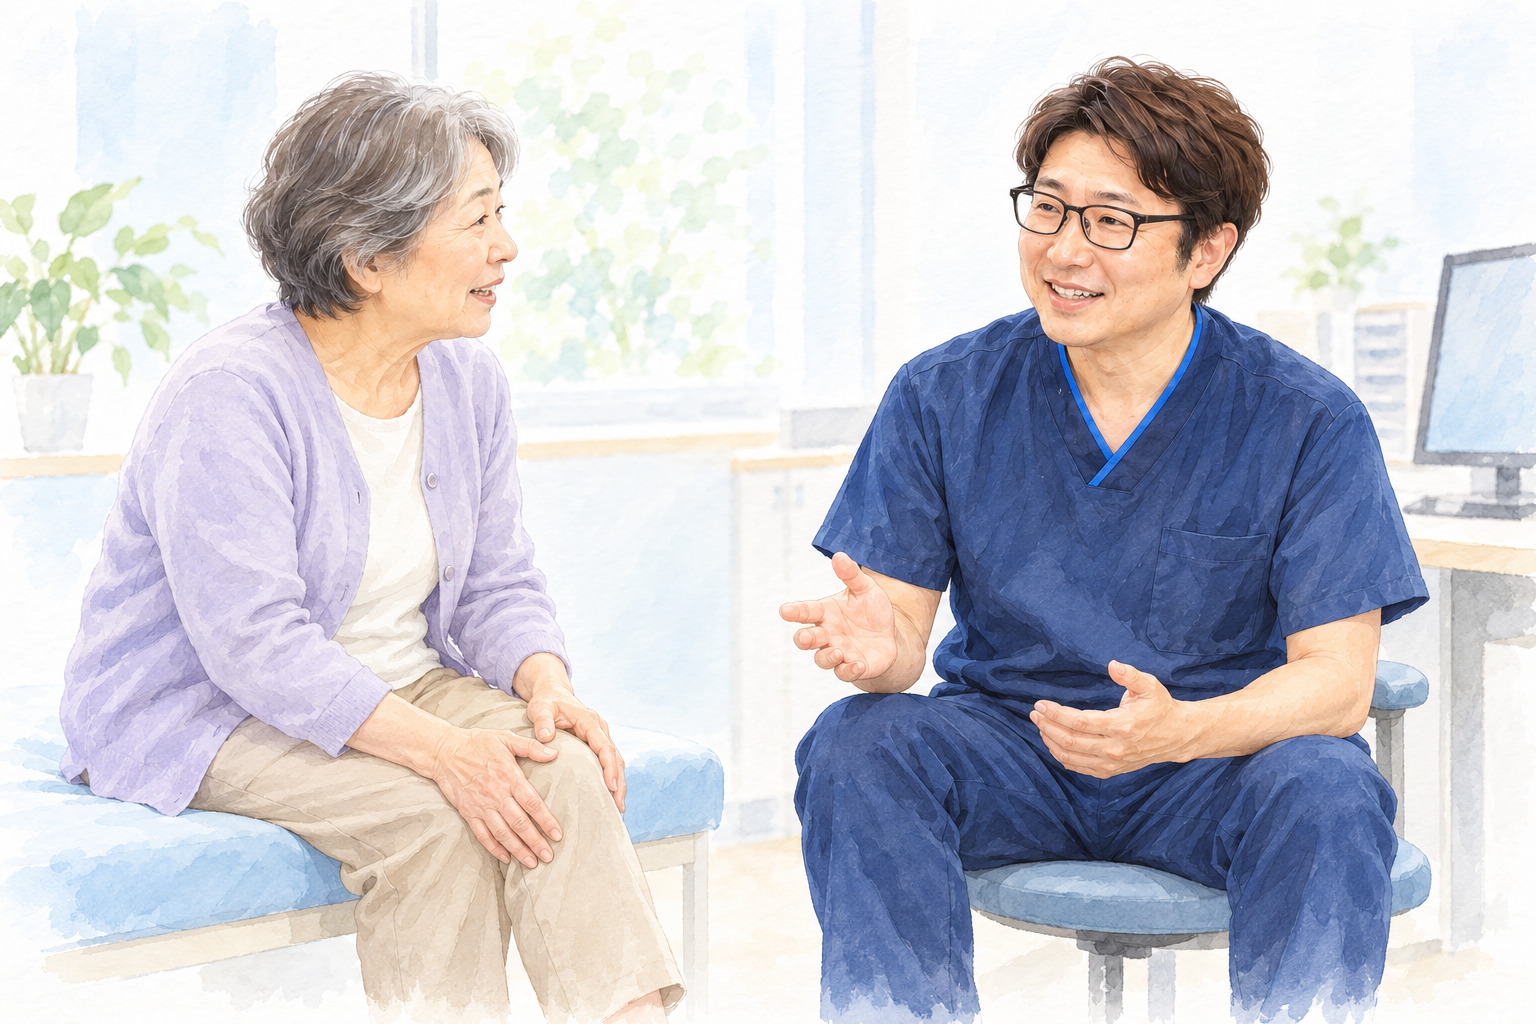
Before starting the examination, we first review the history that the nurse has taken beforehand.
We check when the pain started, where it hurts, which activities cause pain, whether there was an injury such as a fall or sports injury, whether the knee is swollen, whether you can walk, and whether you have injured the same knee before.
However, the questionnaire alone does not provide a diagnosis. We talk with you directly to fill in any missing information.
Your age, the location of the pain, when it began, any history of injury, swelling, and mechanical symptoms such as locking are important information when assessing knee pain.
2. The examination begins as you enter the consultation room
The examination has already begun by the time you walk into the consultation room.
The first thing we look at is how you walk.
We check whether you are favoring the painful side, limping, walking without bending the knee, walking differently on each side, or having difficulty putting weight on the leg normally.
Walking reveals information that we cannot obtain simply by examining you while you are lying on the examination table.
How you change your walking to protect a painful knee is also part of the assessment.
3. We ask you to touch the area that hurts
Next, we ask, “Where exactly does it hurt?” and ask you to show us by touching the area yourself.
This can be a surprisingly difficult question.
Many patients say, “My knee hurts,” while pointing to the whole knee.
You may not distinguish precisely between the inner side, outer side, area around the kneecap, and deep inside the joint.
After listening to your description, the doctor therefore feels the knee to find the areas that are tender when pressed.
4. On the examination table, we first look at the whole knee
We ask you to lie on the examination table with your knee visible. We begin with inspection, which means looking at the knee.
We check for swelling of the whole knee, differences between the two sides, obvious changes in shape, bruising and redness.
In knee osteoarthritis, changes such as varus (bow-legged) deformity may be noticeable.
On the other hand, if the knee swells rapidly after an injury, we also consider bleeding into the joint, ligament injury or a fracture.
5. We begin palpation around the patella, or kneecap
Palpation, or examining by touch, varies somewhat from one doctor to another.
Dr. Goda starts at the upper part of the knee and checks around the kneecap.
He feels around the kneecap and presses on it, checking for tenderness, warmth and fluid in the joint.
When examining this area, we consider the different tissues at the front of the knee, including the patellofemoral joint, patellar tendon and bursae.
6. We bend and straighten the knee to check its range of motion
Next, we bend and straighten the knee.
The important points are whether the knee can straighten fully and how far it can bend.
At the same time, we check whether it hurts partway through bending or when fully bent, whether it catches as it straightens, and whether movement stops with a firm block.
Range of motion can be limited by conditions such as knee osteoarthritis, fluid in the joint, joint contracture and meniscal problems.
7. We check each area for tenderness
Next, we examine carefully to find which parts of the knee hurt when pressed.
Tenderness along the medial joint line, on the inner side of the knee, may suggest a meniscal tear or osteoarthritis of the medial compartment. Tenderness along the lateral joint line, on the outer side, may suggest a problem with the lateral meniscus or the outer joint surfaces.
Tenderness where the medial collateral ligament attaches, together with a history of injury, may suggest an injury to that ligament. Tenderness at the pes anserinus, a little below the joint line, may suggest inflammation in that area.
If you perform repetitive activities such as running, we also consider inflammation of the iliotibial band.
As explained in K-001, a difference of just a few centimeters in the location of pain can change which tissue we suspect is involved.
8. Next, we check whether the knee is unstable
After checking tenderness and range of motion, we assess knee instability when needed.
The knee has ligaments that stabilize the joint, including the anterior cruciate ligament, posterior cruciate ligament, medial collateral ligament and lateral collateral ligament.
If these are damaged by an injury, the knee may move more than usual, or you may feel that it “gives way.”
9. Varus and valgus stress tests
We apply varus and valgus stress to the knee to check the collateral ligaments for laxity.
In general, valgus stress is used to assess the medial collateral ligament (MCL), and varus stress to assess the lateral collateral ligament (LCL).
We check not only for pain, but also for differences between the two knees and how the joint opens under stress.
10. Anterior drawer and Lachman tests
To assess the anterior cruciate ligament (ACL), we use tests such as the anterior drawer test and Lachman test.
With the knee stabilized, we move the tibia (shinbone) forward to check whether it moves more than usual and whether the resistance felt at the end of the movement is abnormal.
11. Posterior drawer test
To assess the posterior cruciate ligament (PCL), we use tests such as the posterior drawer test.
We check whether the tibia moves backward more than usual.
We may consider a PCL injury after a hard blow to the knee, a knee striking the dashboard in a traffic accident, or a sports injury.
12. We use the McMurray test to assess the menisci
When we suspect a meniscal tear, we may perform the McMurray test.
We bend the knee, then straighten it while applying rotation, checking for pain, a click felt near the joint line, or reproduction of your symptoms.
However, a positive McMurray test does not confirm a meniscal tear on its own.
We make our assessment by combining your age, history of injury, joint-line tenderness, symptoms such as locking, and imaging findings.
13. Hands-on tests may be difficult soon after an injury
If the knee is very swollen immediately after an injury, pain may make it difficult for you to relax.
In this situation, the muscles may tense up, the knee may not bend far enough, or pain may prevent us from completing a test.
We therefore do not rely on special tests alone. We also consider how the injury occurred, swelling, tenderness and imaging findings.
Part 1 summary: Diagnosing knee pain begins before we touch the knee
When assessing knee pain, we narrow down the possible causes by reviewing the questionnaire, observing how you walk into the consultation room, asking you to show us where it hurts, looking at the whole knee, feeling around the kneecap, checking range of motion, finding areas of tenderness, and assessing instability with hands-on tests.
Only after completing this examination do we compare the findings with the images.
Continued in Part 2
K-005 Part 2: How Do We Combine X-rays, MRI and a Clinical Examination to Identify the Cause?
Part 2 explains how we compare clinical examination findings with X-rays, assess knee osteoarthritis, decide when MRI is needed, and evaluate knee pain involving several overlapping conditions. It also covers knee pain in young athletes and chondromalacia.
About the medical review
This article is based primarily on Dr. Goda's actual knee examination procedures and clinical experience in general orthopedic practice. It does not present a specialist opinion as a knee specialist. The descriptions of hands-on tests and physical examination have been checked against standard orthopedic and sports medicine knowledge and edited for patients.
Medical reviewer profiles
Chairman, GOZEN Medical Corporation; certified orthopedic specialist; Doctor of Medical Science.
Director, Kita 7-jo Goda Orthopedics; certified orthopedic specialist; Doctor of Medical Science; occupational physician; Japan Sport Association-certified sports doctor.
Director, Iwamizawa Goda Orthopedics; certified orthopedic specialist; Doctor of Medical Science; Japanese Society for Replacement Arthroplasty-certified physician; Japan Sport Association-certified sports doctor.
Article information
Article number: K-005
Article: How Do Orthopedic Doctors Diagnose Knee Pain? Medical History, Inspection, Palpation and Hands-on Tests
Part: Part 1: Medical history, walking, inspection, palpation, range of motion and hands-on tests
Series: Goda Orthopedics' Guide to Knee Pain
Medical review: Taketoshi Goda / Takuro Sasaki / Naoki Seito
Original Japanese publication date: October 23, 2026 (Friday)
Original Japanese update date: October 29, 2026 (Thursday)
Related article: K-005 Part 2: How Do We Combine X-rays, MRI and a Clinical Examination to Identify the Cause?
This article was translated from the original Japanese using AI. Not all staff at Kita 7-jo Goda Orthopedics are fluent in English, but we make every effort to communicate with you and help you feel understood.


